100th PGA Championship
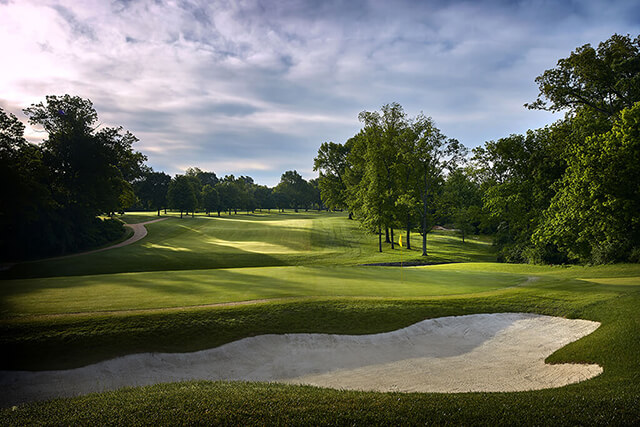
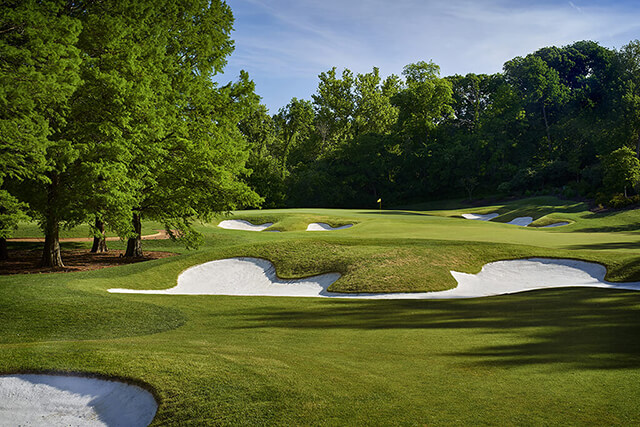
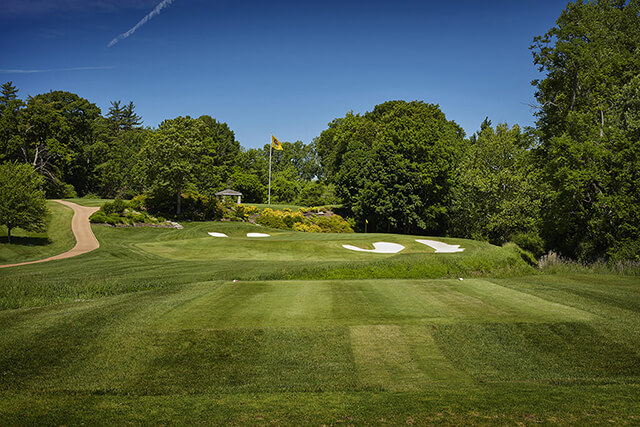
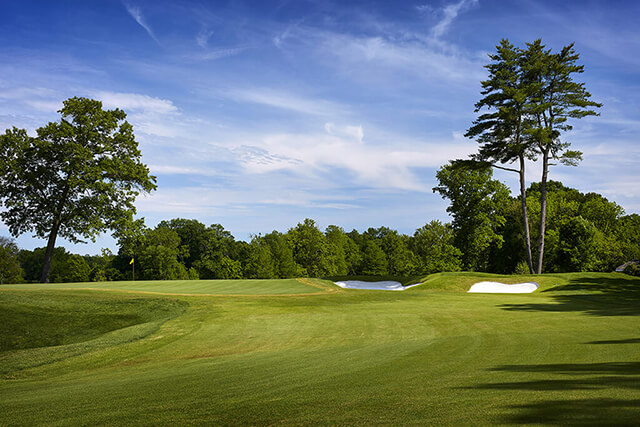
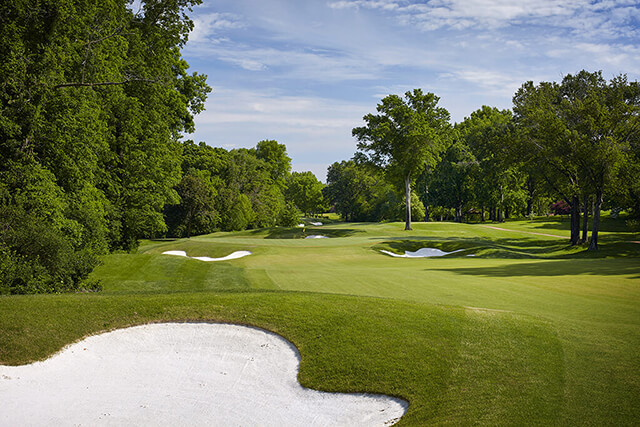
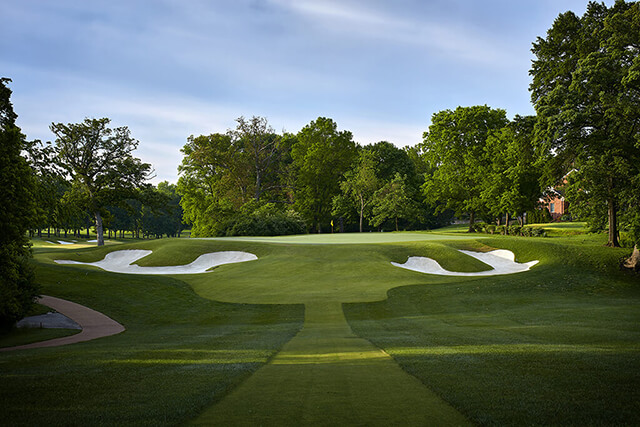
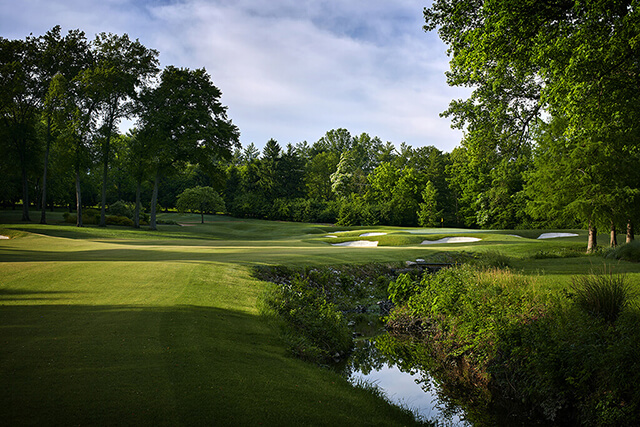
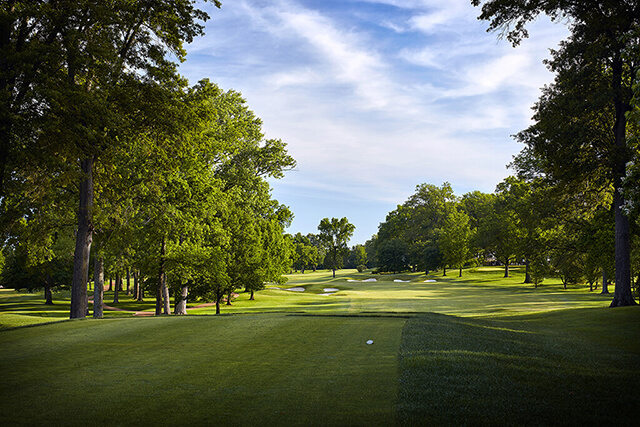
Bellerive Country Club
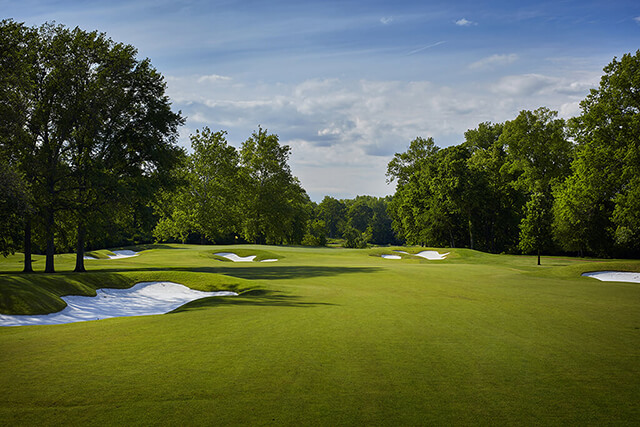
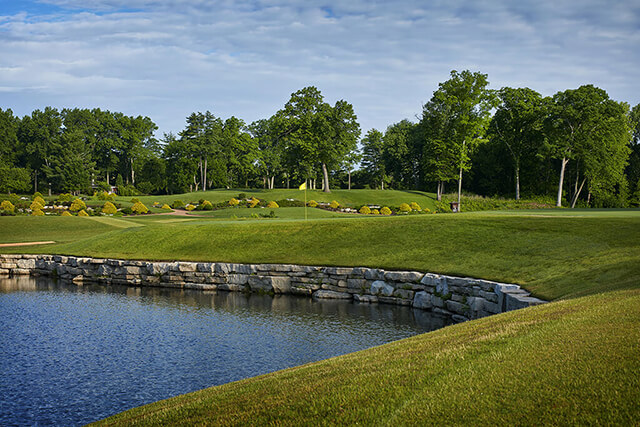
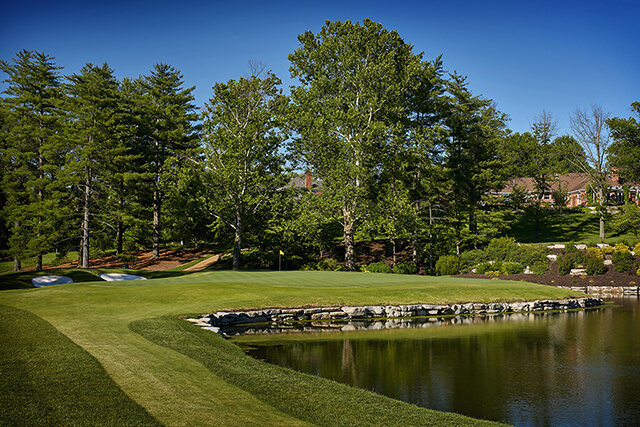
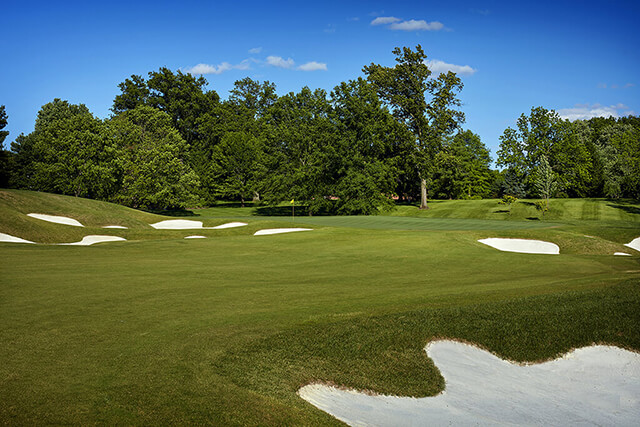
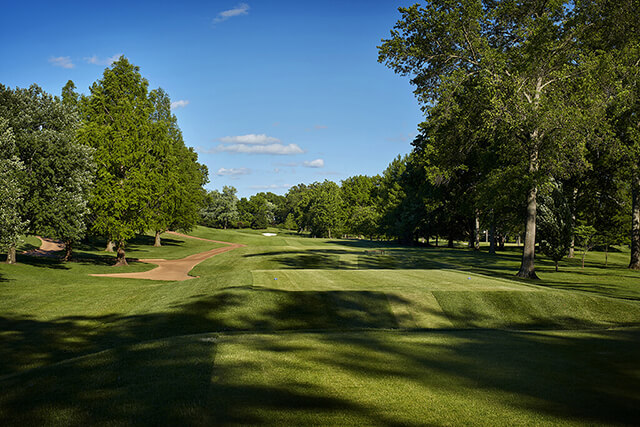
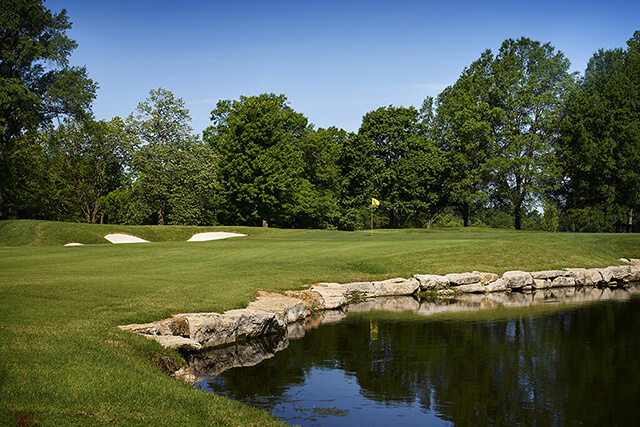
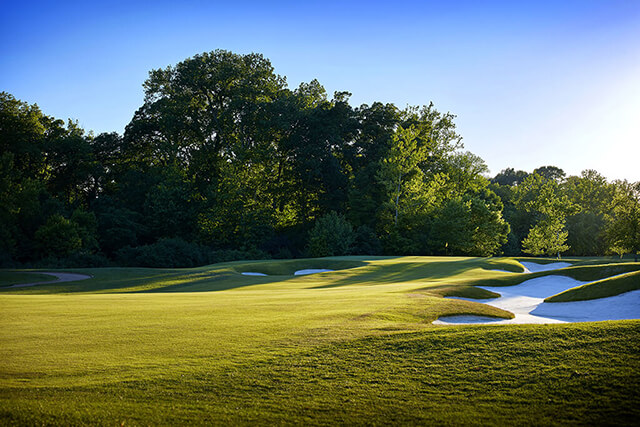
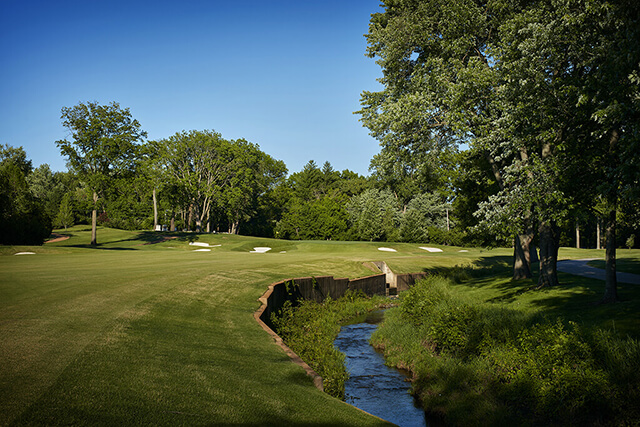
The PGA Championship annually draws the strongest field in golf. Thursday through Sunday at Bellerive Country Club, the world's best golfers will slug it out for the right to have their name etched on the Wanamaker Trophy as the winner of the 100th edition of the tournament. Photos courtesy of PGA of America. Design and development by Andrew Nguyen.
Architect: Robert Trent Jones
Photos courtesy of PGA of America. Design and development by Andrew Nguyen.

Click on a link to navigate to a specific hole.
Advertisement
Scroll down for more